This is based on the recipe for newbies from John Palmer’s How to Brew book. I really do want to keep with the all-grain brewing that I did for my first three 1 gallon brews, but I don’t yet have the mash tun that I’m getting soon. I should probably do at least one with extract for the experience anyway.
Ingredients:


Malts:
- 3 lbs. Amber Dry Extract
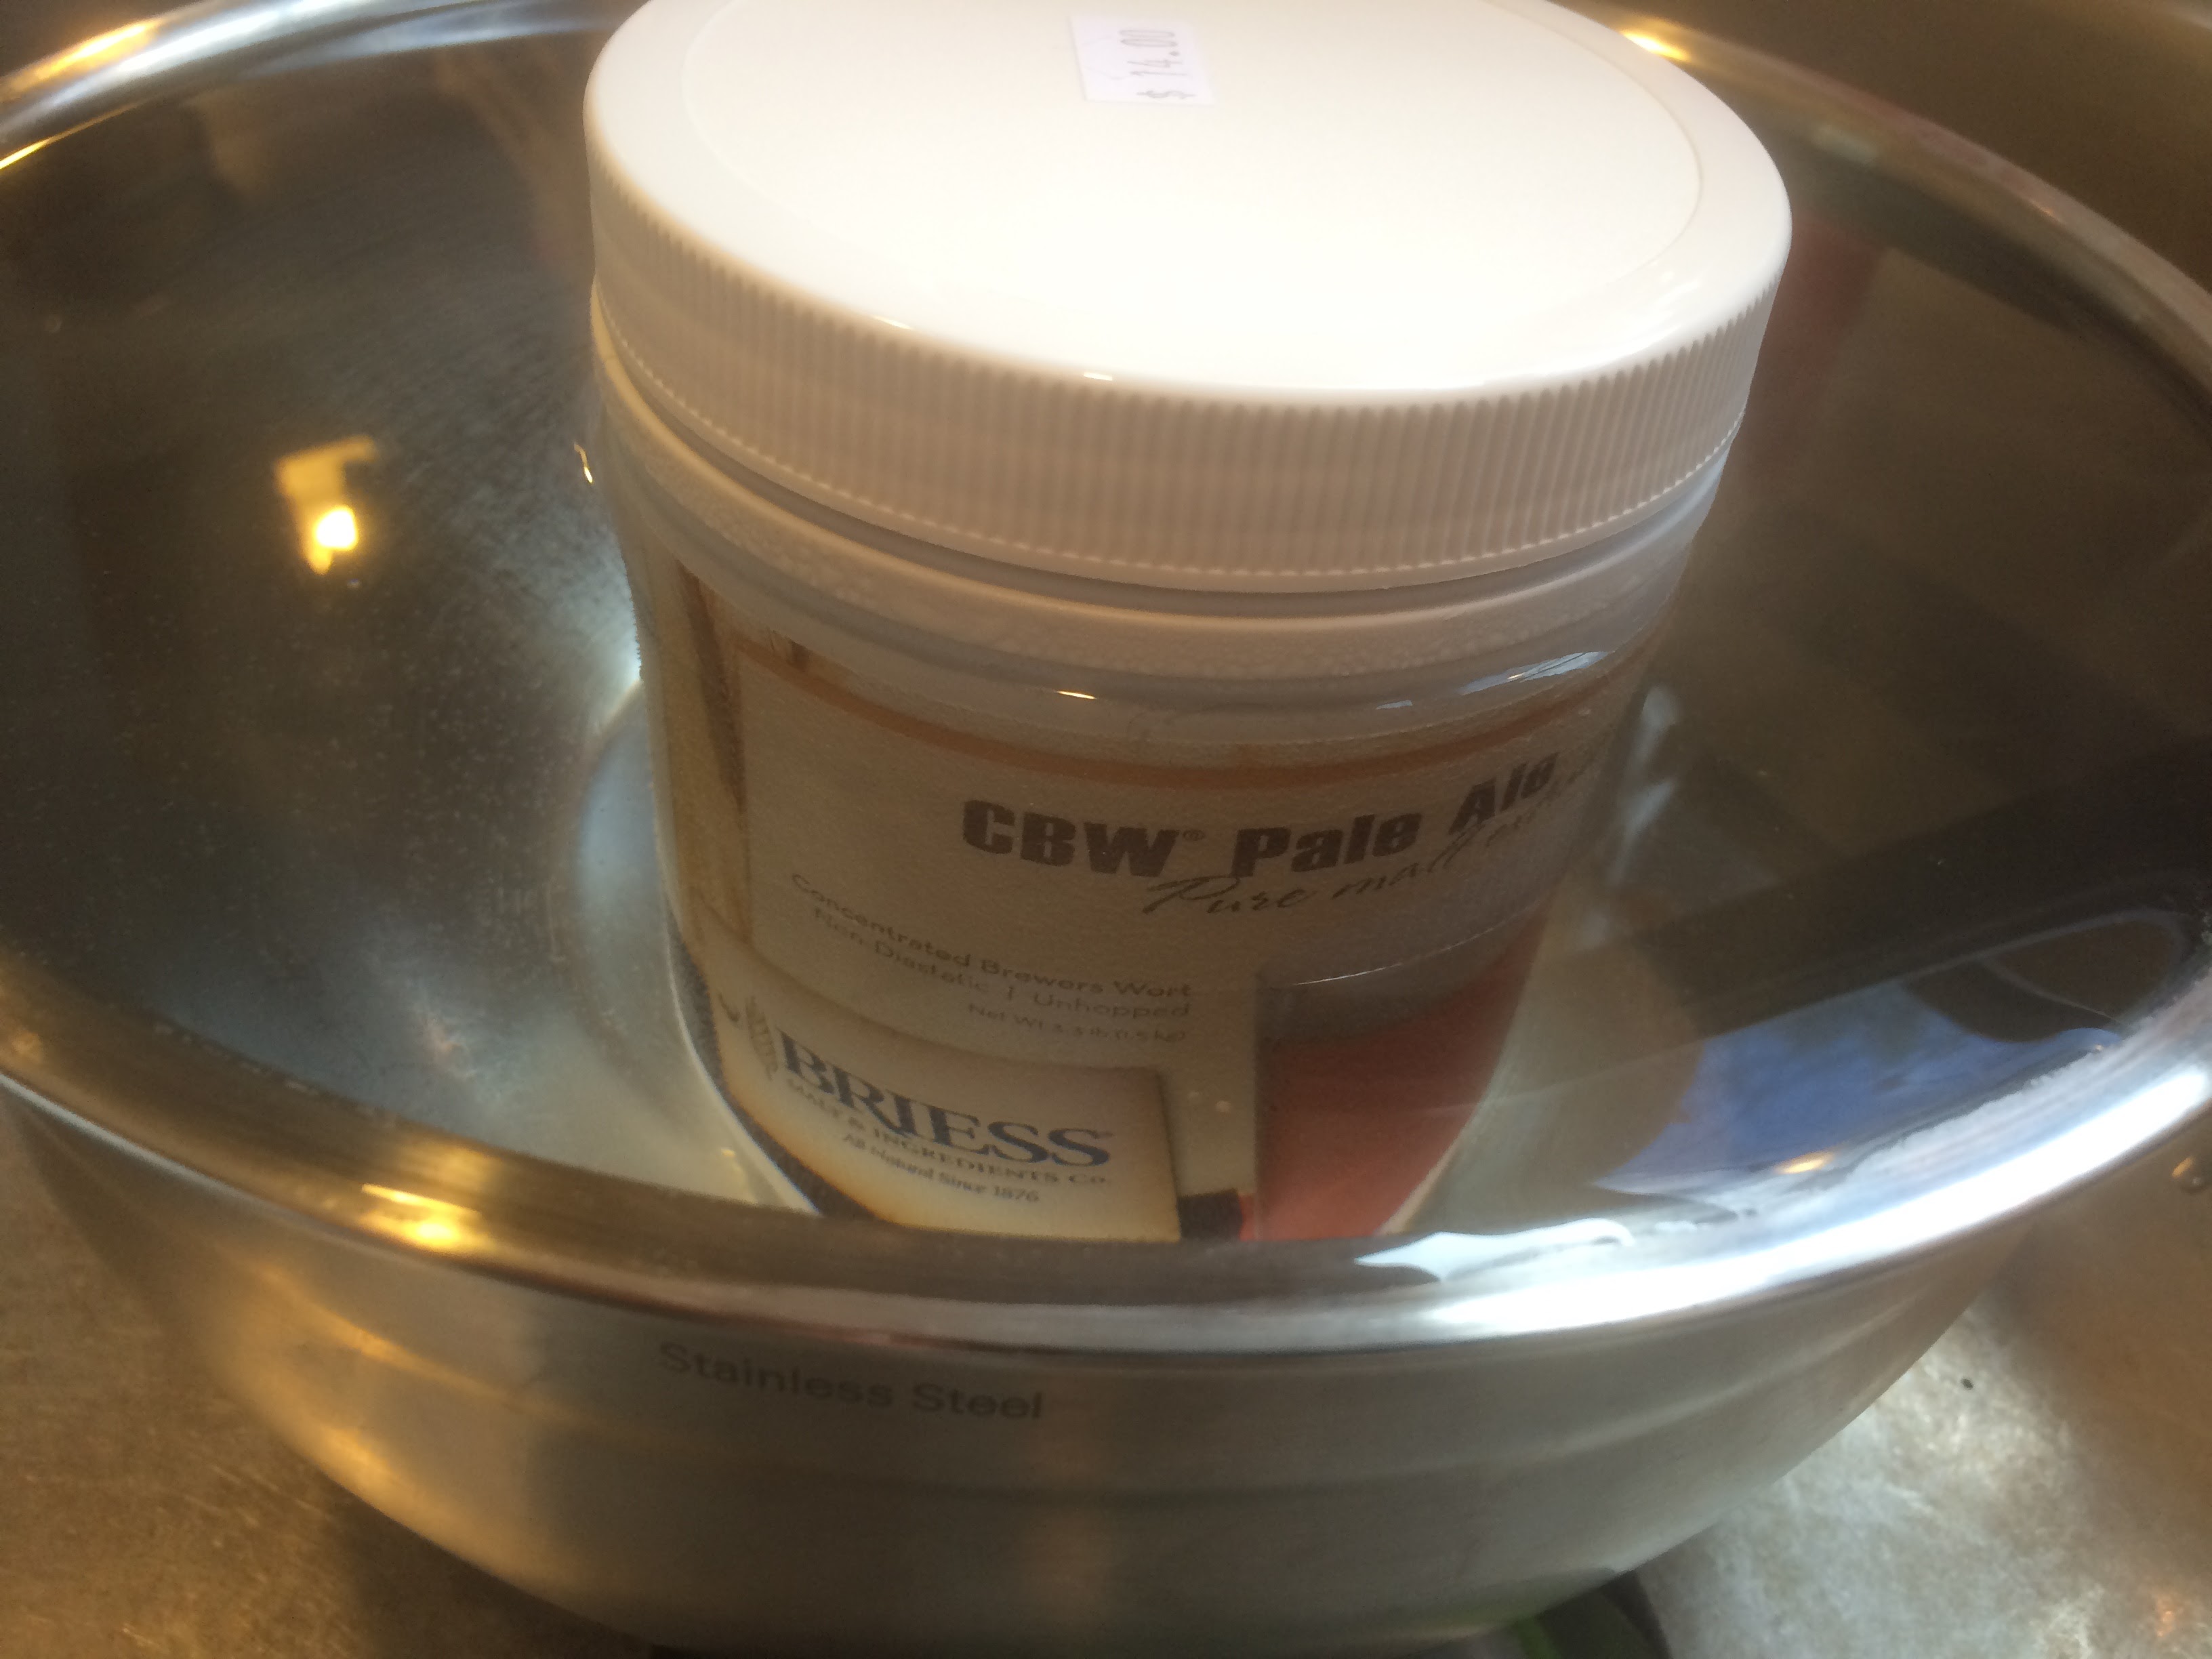
- 3.3 lbs. Pale liquid Extract
Hops:
- .5 oz Centennial at 60 min
- .5 oz Cascade at 30 min
- .6 oz Cascade at 15 min (I threw in the extra .1 oz that my 1 oz package contained. Or maybe my scale is off)
Yeast:
- Safale US-05
Water:
- 6 gallons well water run through under sink filter
Brew Day (12/19/15)
- Started around 10am. Brought 3 gallons tap (well) water to a boil in brew pot (brand new under-sink filter installed)
- Brought additional 3 gallons to boil (to sterilize) in secondary pots (for topping off the fermentor later)
- Prepared to start re-hydrating yeast: 4 oz 80 degree water with whole packet of Safale US-05. I almost killed my yeast! I grabbed 4 oz of pre-boiled ~170F water and intended to let it cool to about 80F, per Safale instructions. But I almost dumped it in before letting it cool. Lesson learned: next time buy 2 packets of yeast so I have a backup, just in case I do something stupid like that!
- Reflect on mistake almost made. THINK. The nearest homebrew shops are 45 mins away.
- Stirred in extract after turning off heat (all the burners were on!)

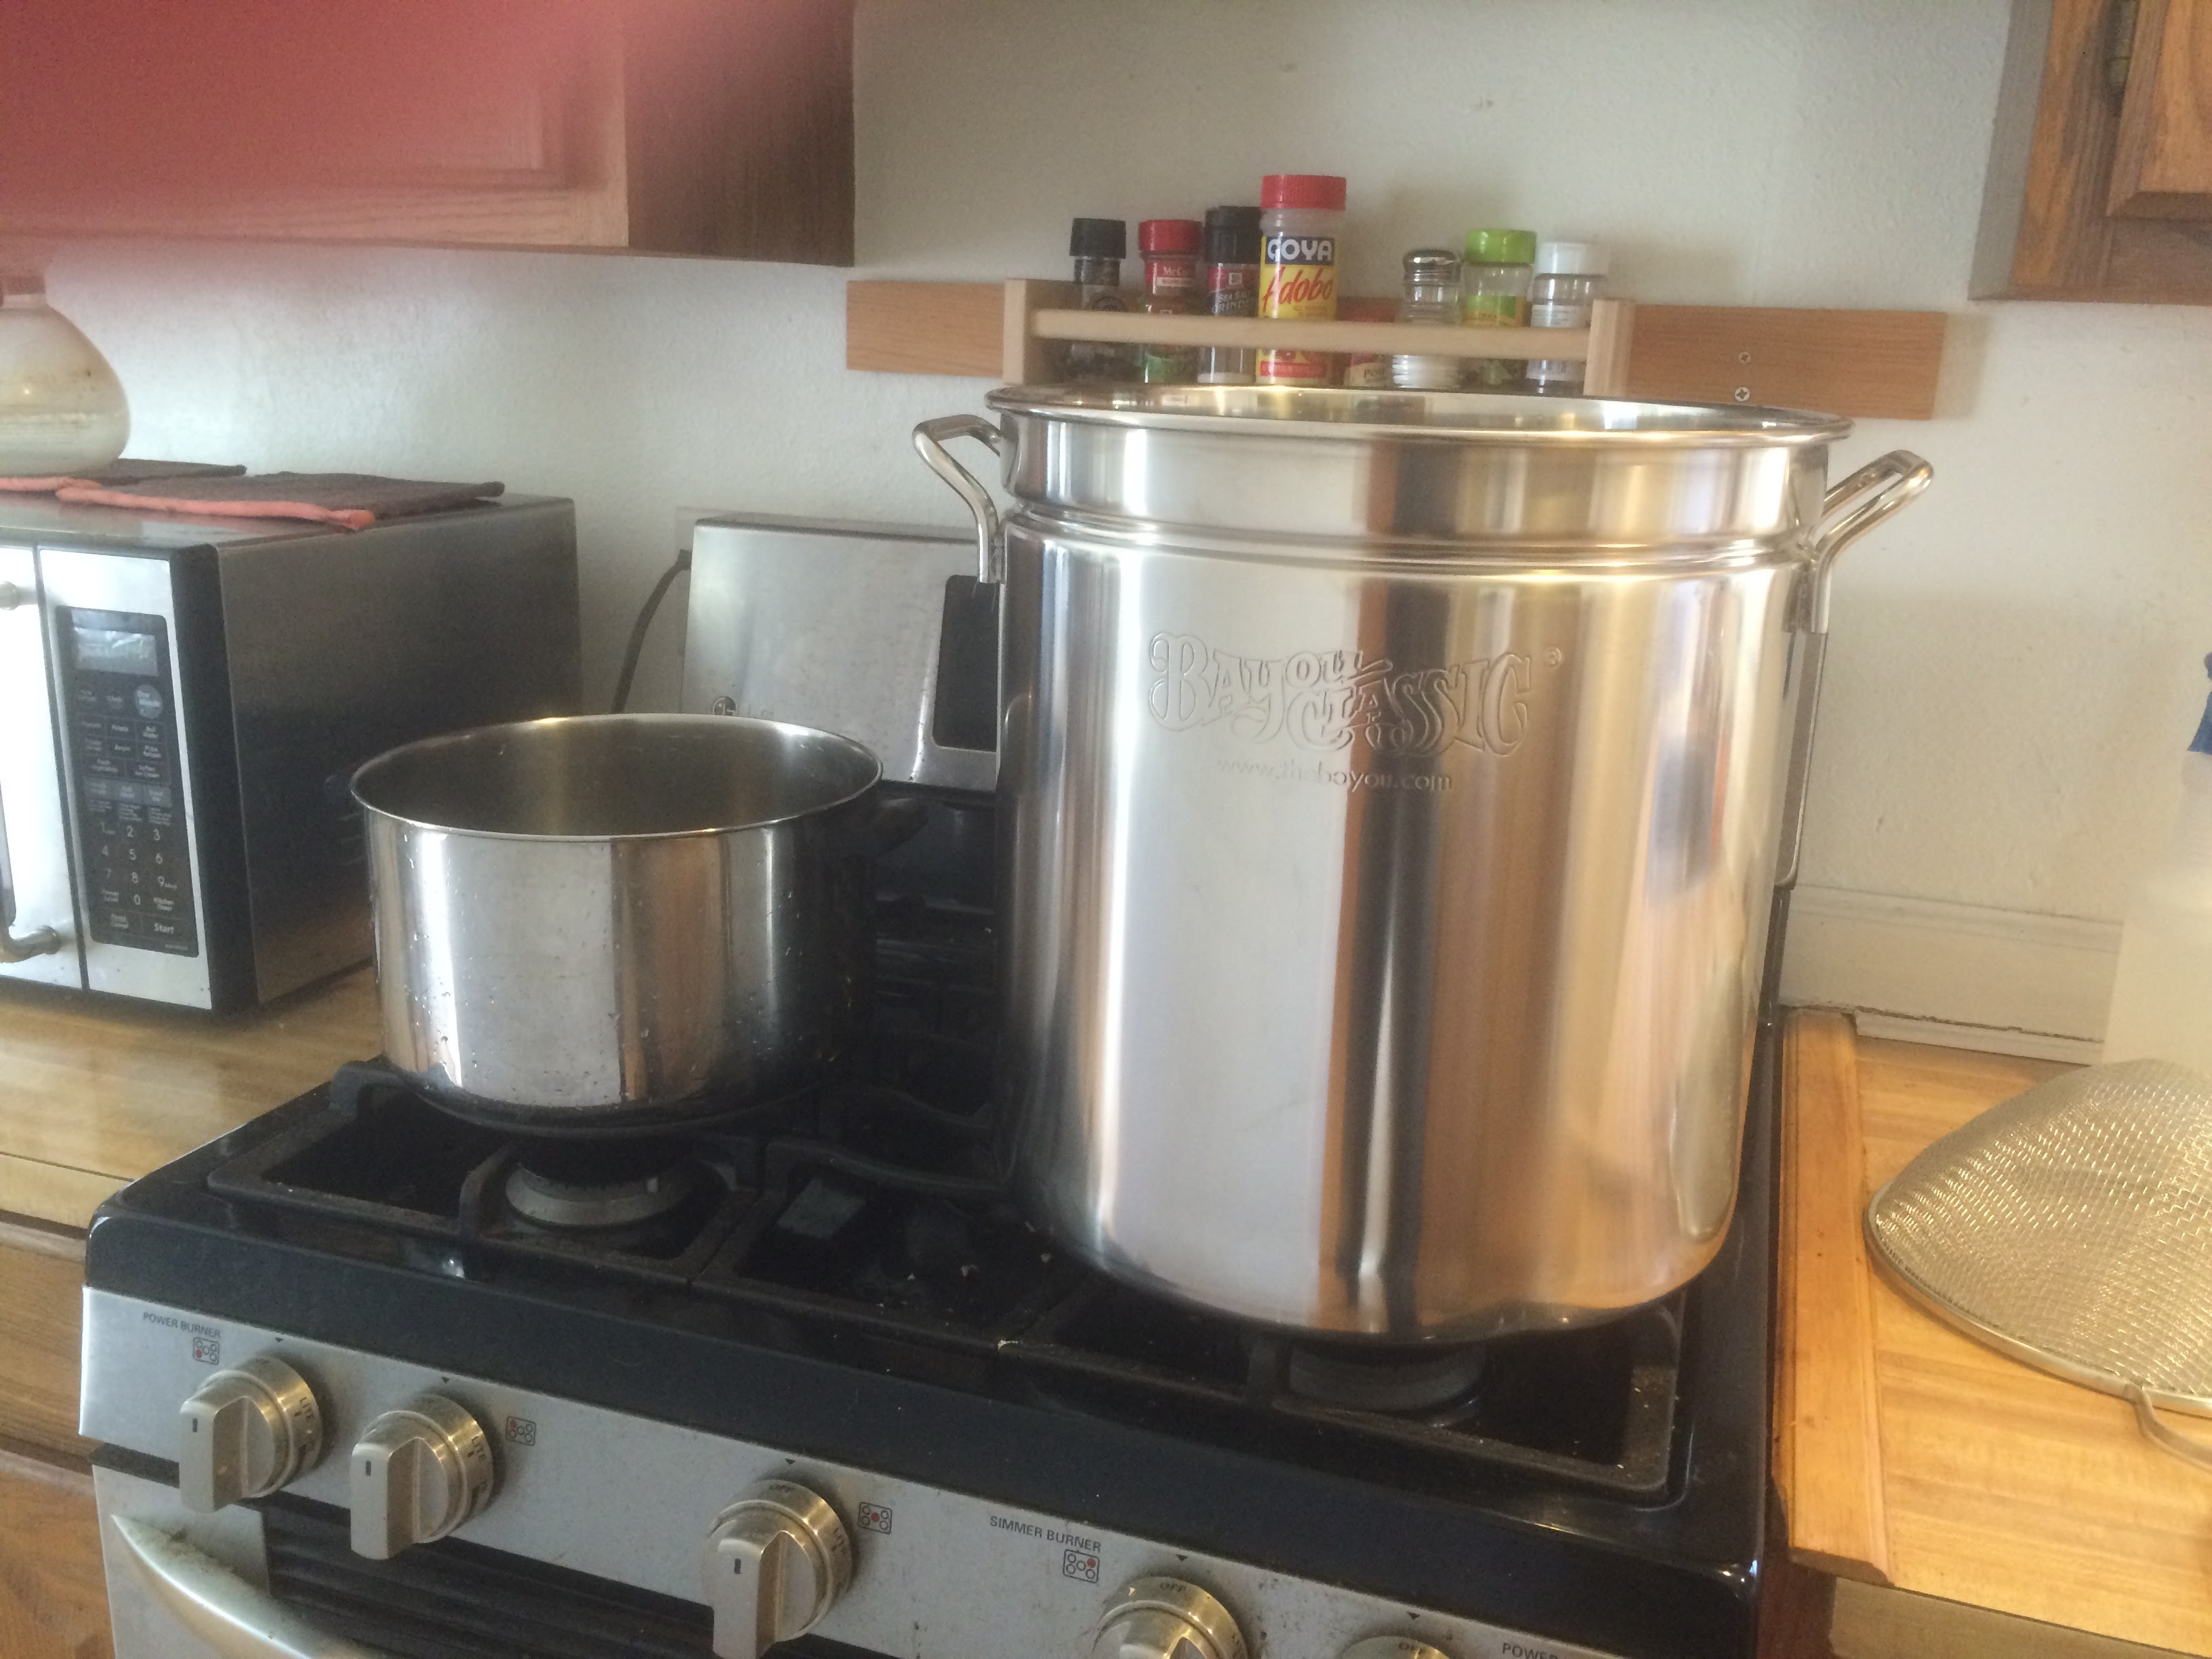
This is what happend to a nearby plastic container when all the burners were on. 
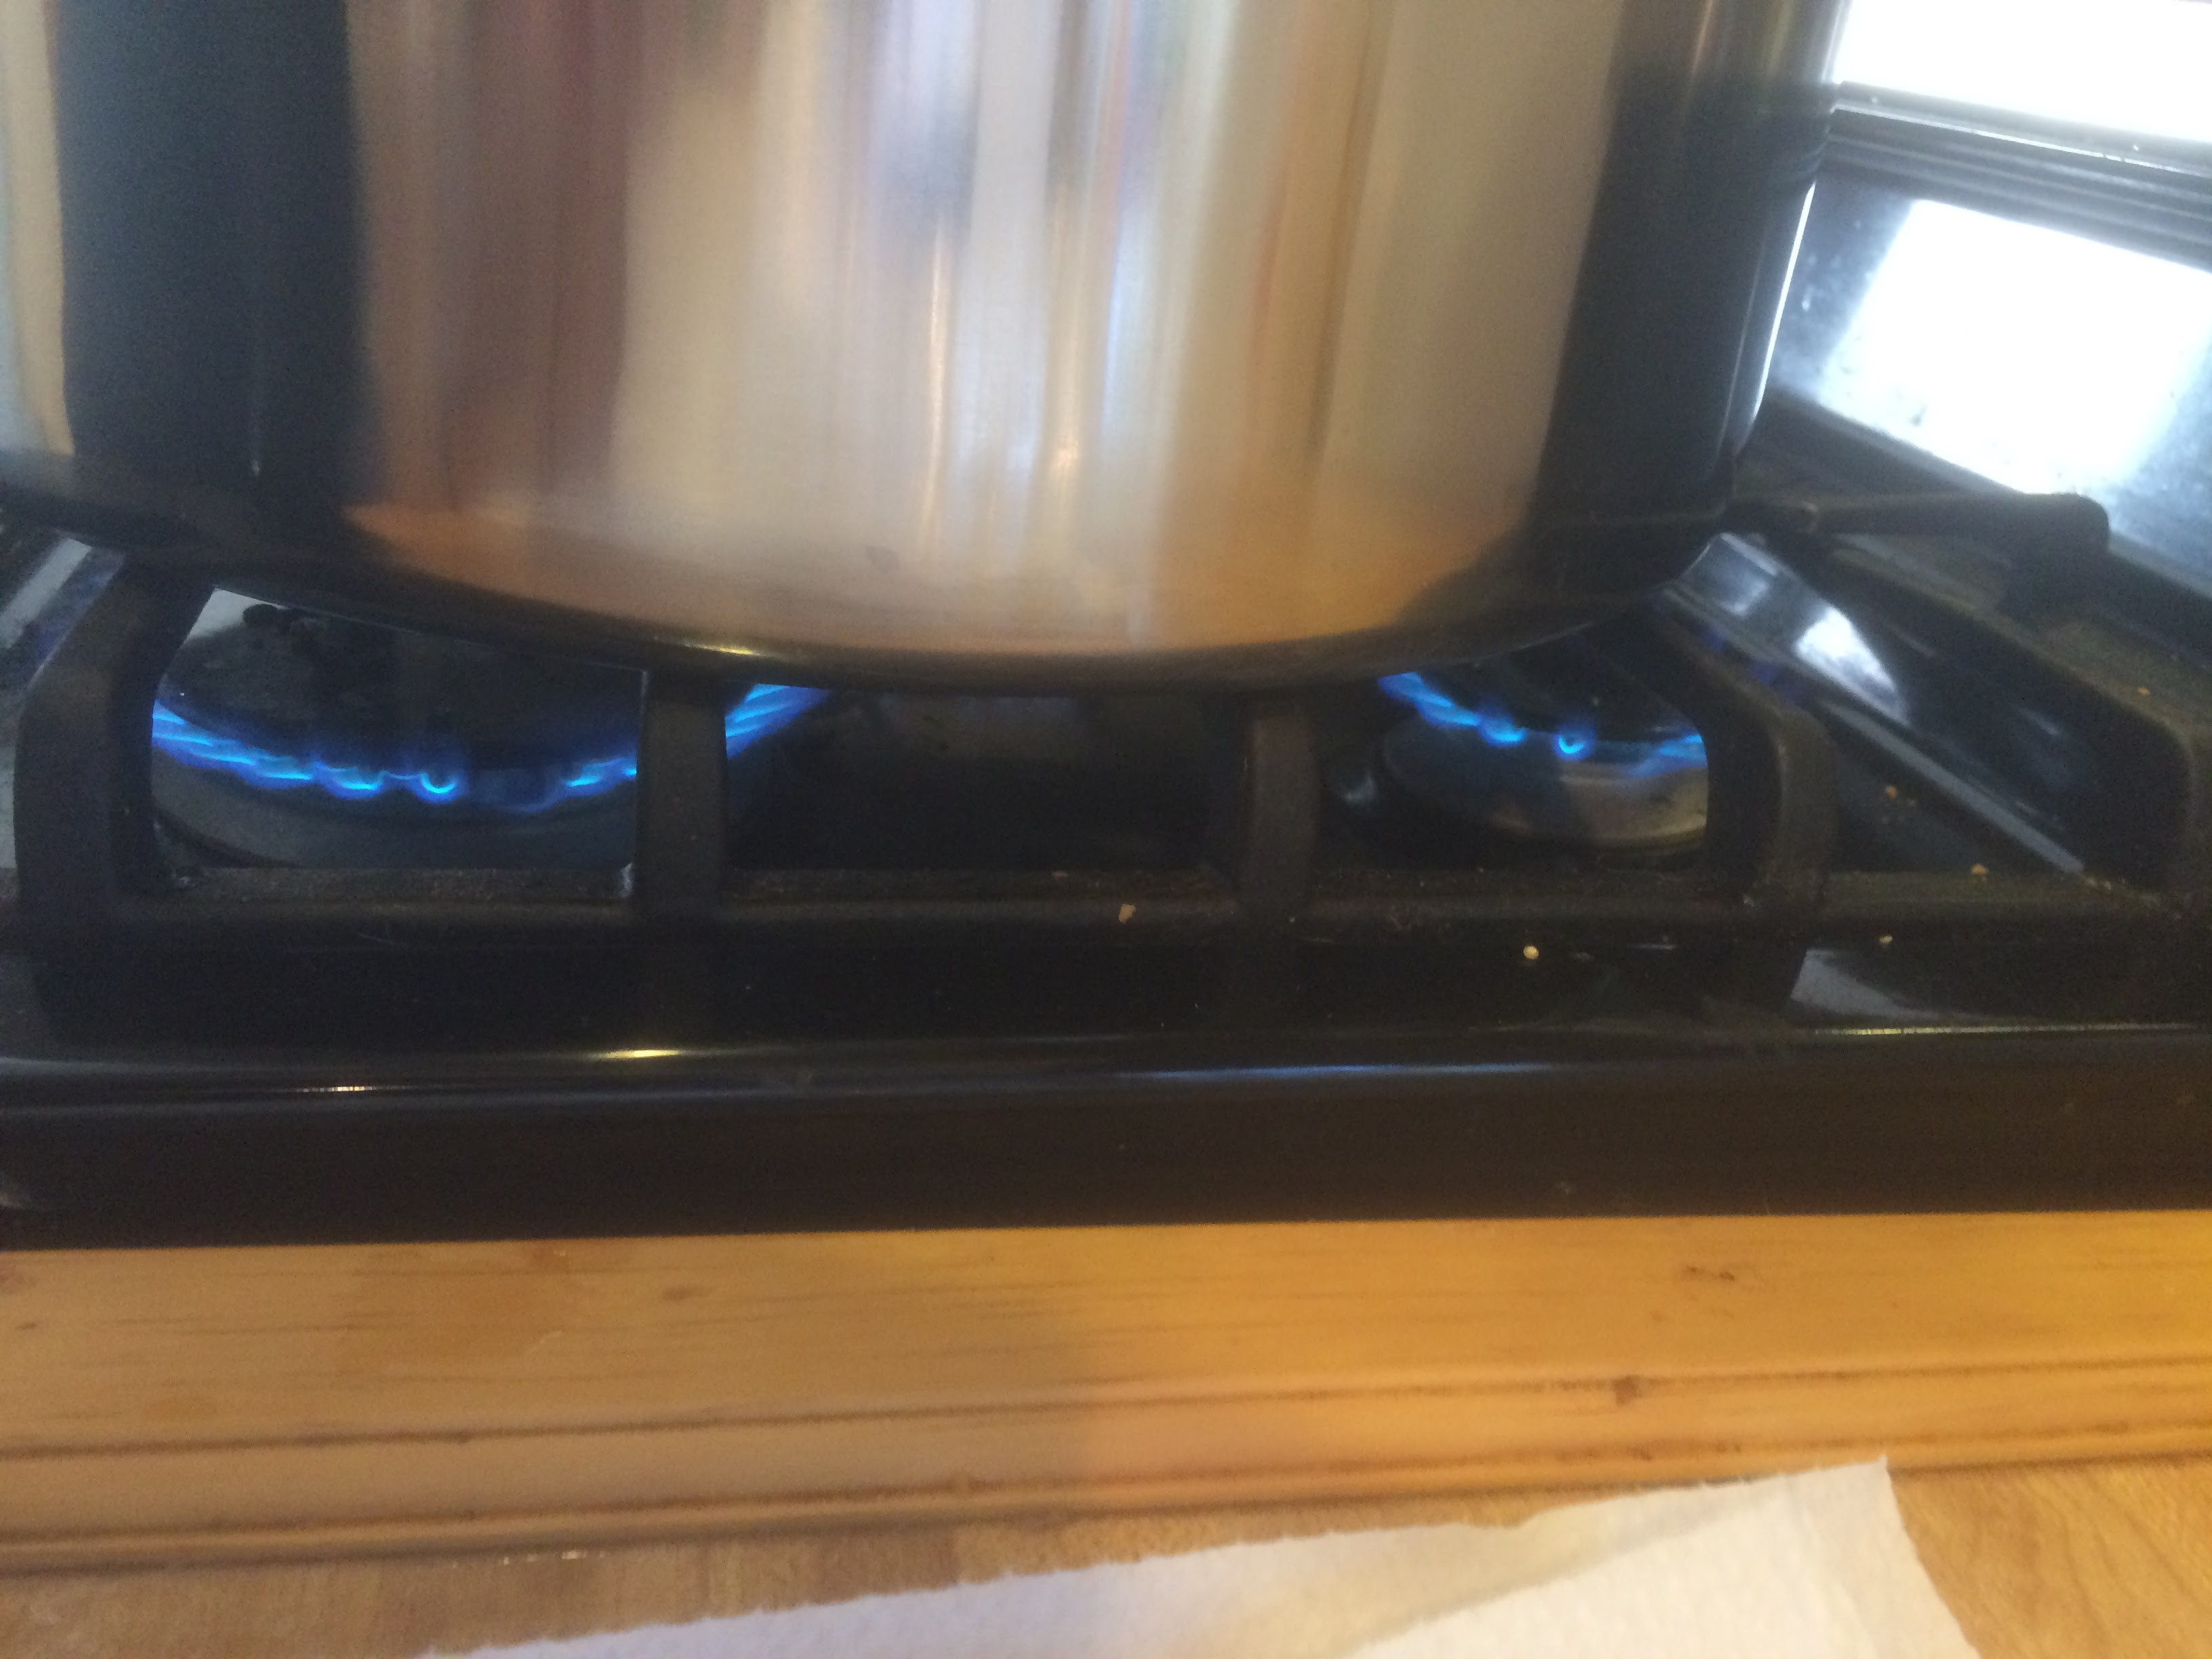
Getting as many BTUs as possible on the kitchen stove. - Time to watch for that HOT BREAK! Then 1 hour boil…
- Added .5 ounce of Centennial at 60
- Added .5 ounce of Cascade at 30
- Added .6 ounce of Cacade at 15

Getting it done - Added 1 tsp Irish Moss at 15 mins left. (My first reaction was, “this stuff smells funky.” My second was, “it smells like the sea!” I could brew just to use this stuff. Opened and sniffed a few more times.)
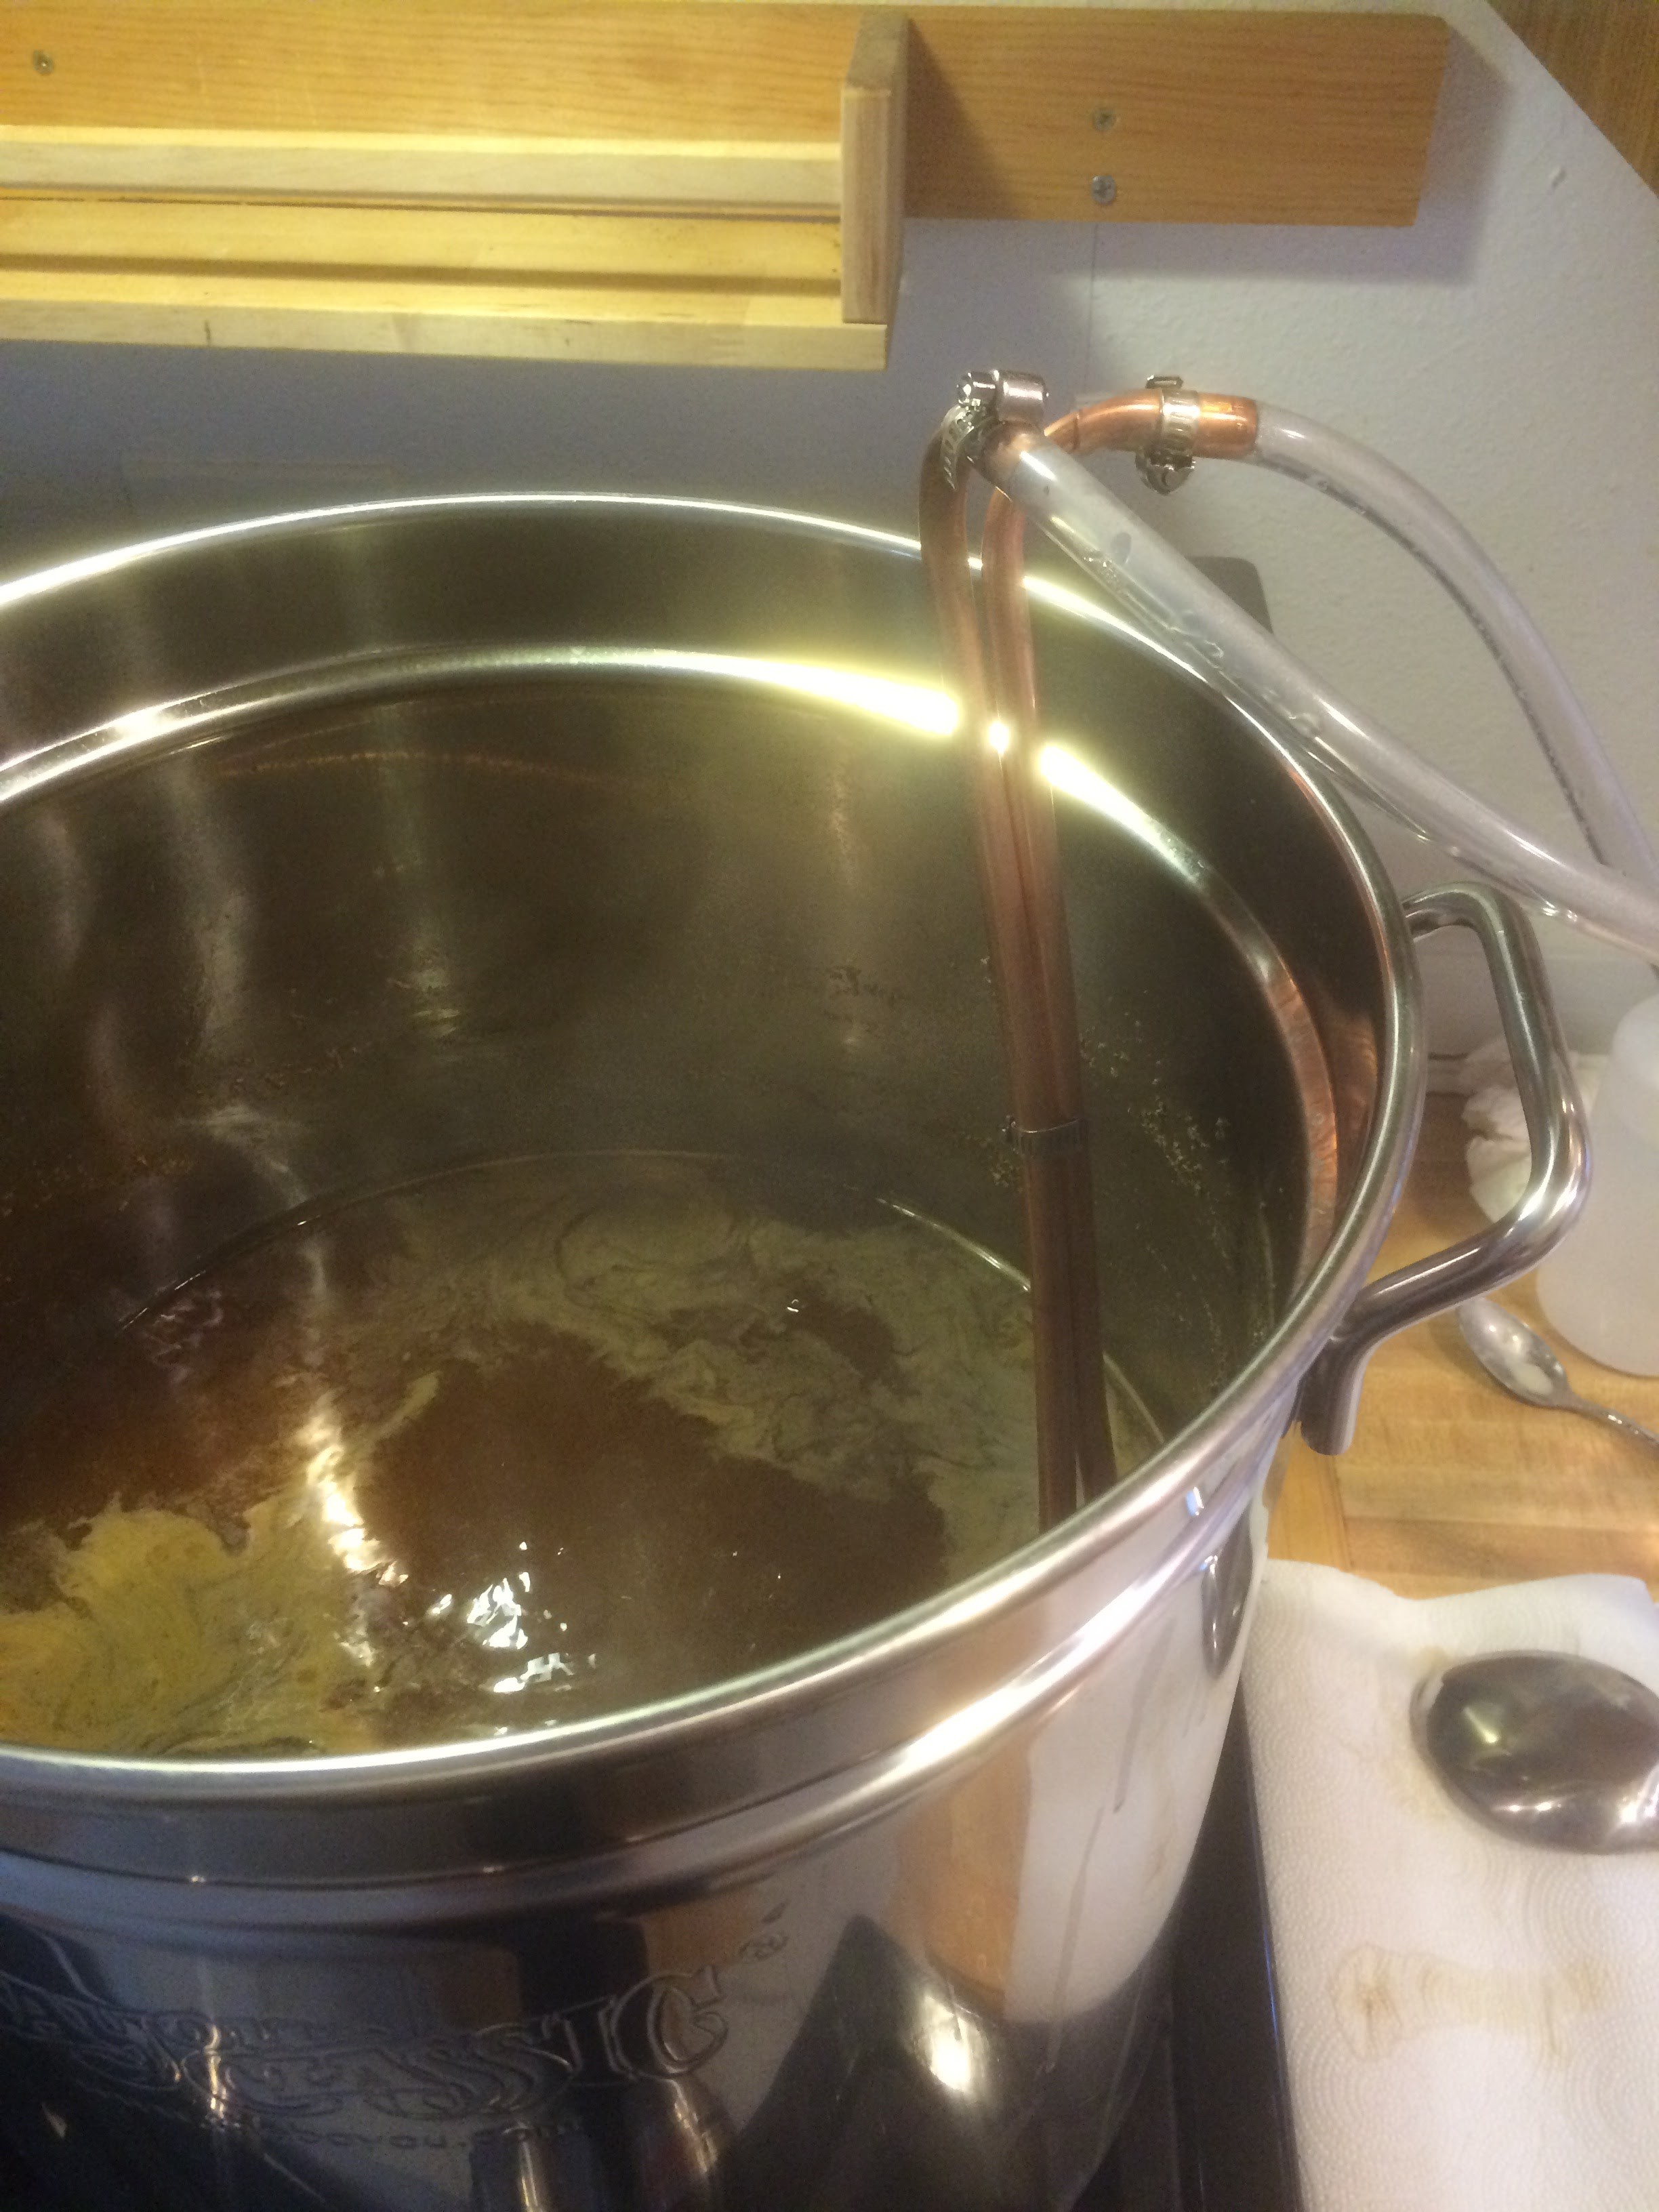
- Inserted wort chiller to sterilize at 10 mins left

About 5 minutes left in the boil - added other 3 gallons (at about 150F) from fermenter to pot
- chilled to around 75F in about 25-30 mins
- dumped into fermenter bucket through strainer (just under 5.5 Gallons)
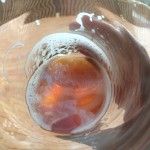
- Gravity around 1.046-1.048. Even though I used “the Thief” this time which reduced bubbles in my sample (last time used turkey baster), I am still not great at reading hydrometer through the bubbles.
- Pitched yeast
- Aerated by shaking, agitating and rocking bucket on floor
- done at 2pm!

There it sits. Right next to that power strip. Brilliant. Bottling (1/1/16)
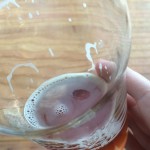
- I bottled a day shy of the recommended 2 weeks in primary. I was anxious that I did not ferment at all, since I NEVER saw a single bubble in the airlock. I stared and stared at it, willing it to bubble, but it was no use. All the forums I found online advised not to worry: this is probably just due to not having an air-tight seal in the fermentor and the CO2 is escaping another way. That put my mind at ease to some extent, but still, I was looking forward to watching it bubble away. An excellent explanation of airlocks here, by YouTube user CraigTube taught me how to check for a bad seal, or airleak, by gently pushing on the lid and seeing if the bubbles stay in suspension inside the airlock (they did not, so air leak pretty much confirmed). Others online advised to take a gravity reading after 3 or 4 days to see if fermentation started at all, but I skipped that, with my new found confidence that all was going well, and not wanting to risk contamination.


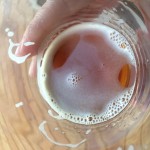
Bottling 48 beers takes a while and is a huge mess (for me anyway). Once in the bottling bucket I had about 4.75 gallons. I got 47 beers. Sometimes I overfilled a bottle a bit, and poured a tiny bit into my tasting glass. All said and done I probably drank a beer’s worth of the flat sugary beer – nice color and it tastes like it will be quite good!
Bottled with 3.8 oz table sugar dissolved in 2 cups boiling water (then cooled)
FG: 1.012 (ABV 4.6%)

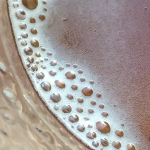
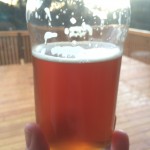
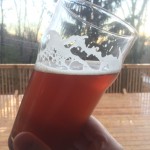
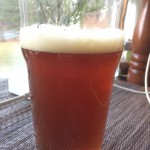
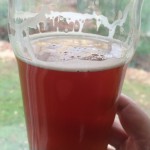
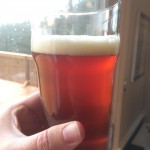
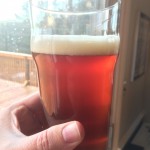
Tasting (1/10/16)
This is actually my second tasting but this is the first “official” one 😉 This is my best beer yet! Very clean tasting. No off-flavors at all that I can detect. It’s been in bottles for 9 days. Nice carbonation already. This time I poured it more aggressively than my first tasting a couple days prior. It gave it a nice head. The taste is not too hoppy and a really nice balance of bitterness. Very drinkable and delicious. I followed that beer with an Otter Creek Overgrown APA, which is more bitter, and I have to admit the commercial brew is still quite a bit more tasty. But this is the first beer I’ve brewed that is actually drinkable – it’s not just because I brewed it that I think so. I believe if I had bought this, I would not be mad that I’d paid money for it – which is good. It would not be one of my favorites or something I’d necessarly buy again, but I’m getting there!